Getting Started
Download the General CLI, log in, and push your first fleet from the terminal.
How it works
Three stages take you from an empty account to a device running your code. The walkthrough below covers each one in detail.
Create a fleet
A fleet is a named group of devices that all run the same deployment. Everything else hangs off it.
Upload your project
Push your code into your secure data bucket, so every device in the fleet has one place to pull from.
Create your edge device
Add a device to the fleet. Once it checks in, it picks up the deployment on its own.
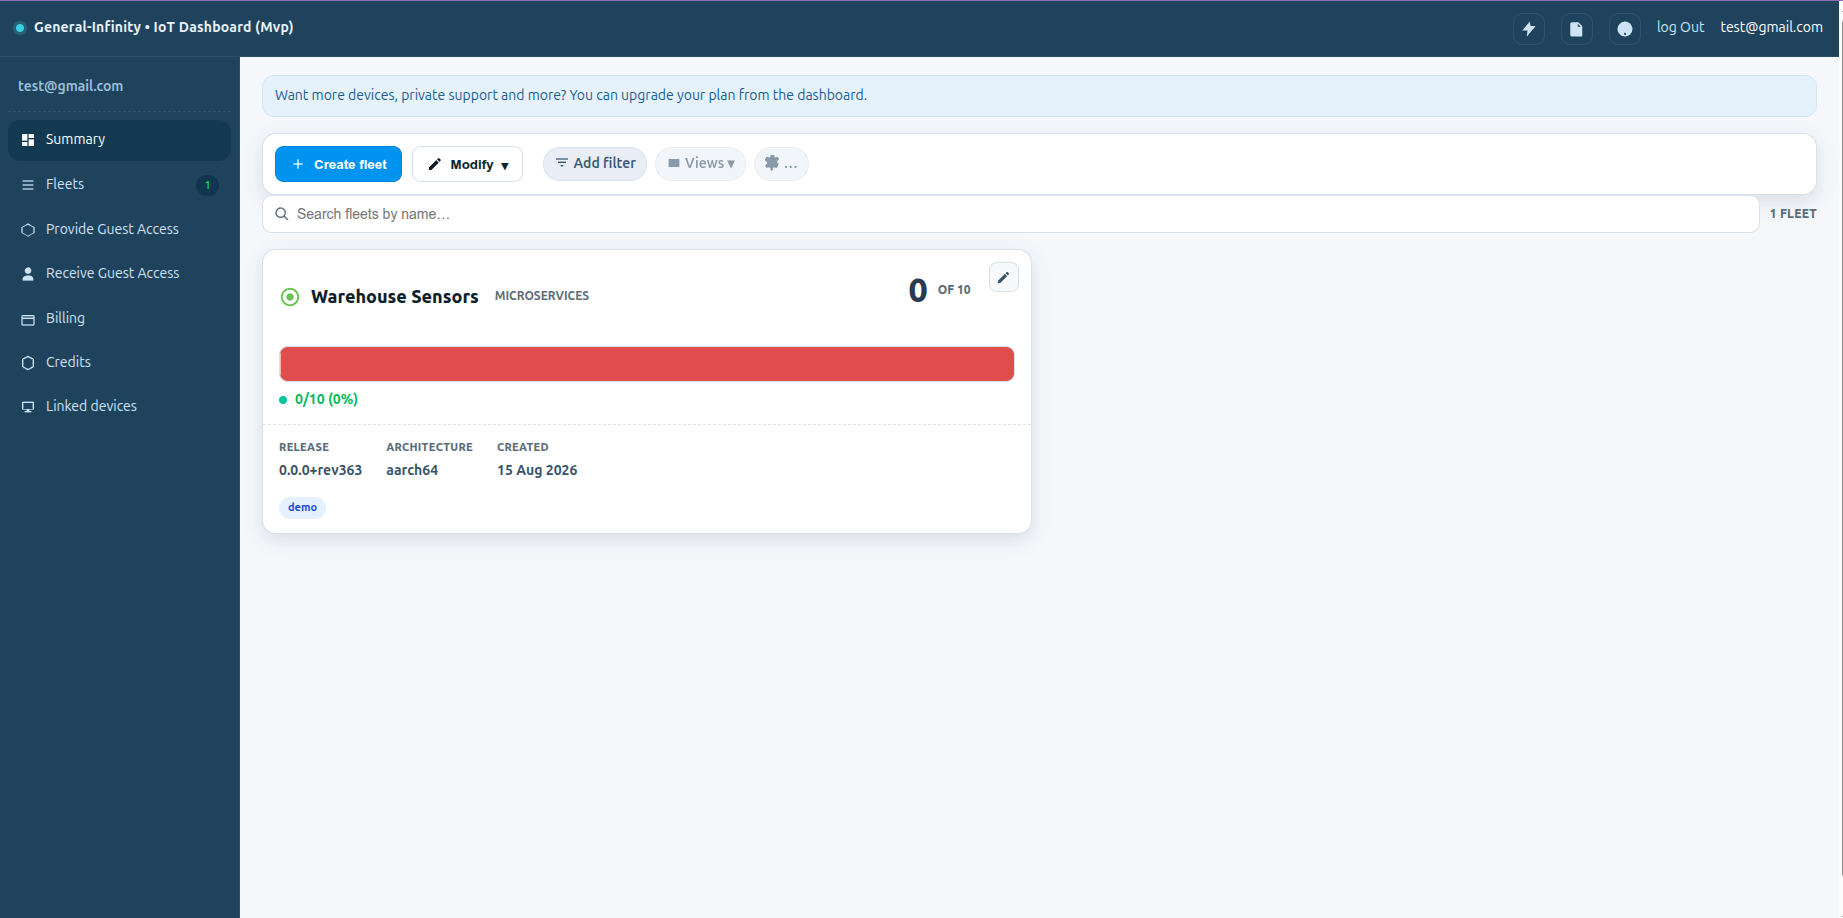
Your Fleets
After signing in, you land on your list of fleets. This is every fleet on your account in one place. Select a fleet to see the devices inside it.
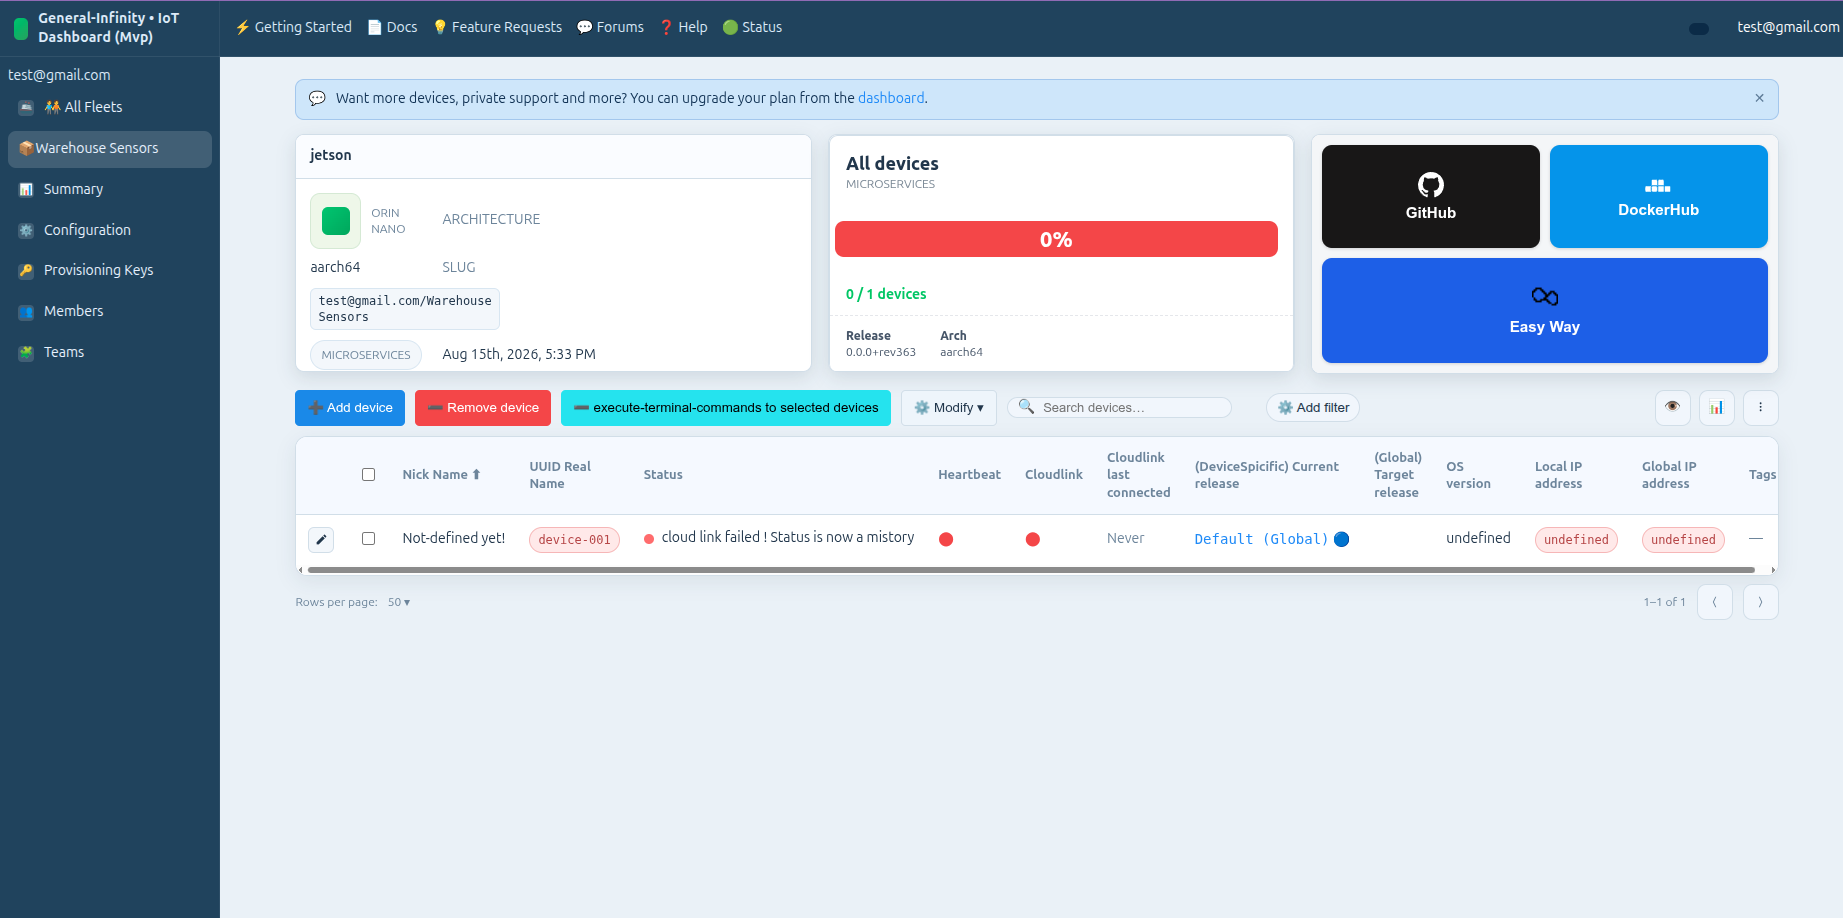
Devices in a Fleet
Opening a fleet shows every device that belongs to it, along with three ways to deploy to that fleet: GitHub, DockerHub, and Easy Way.
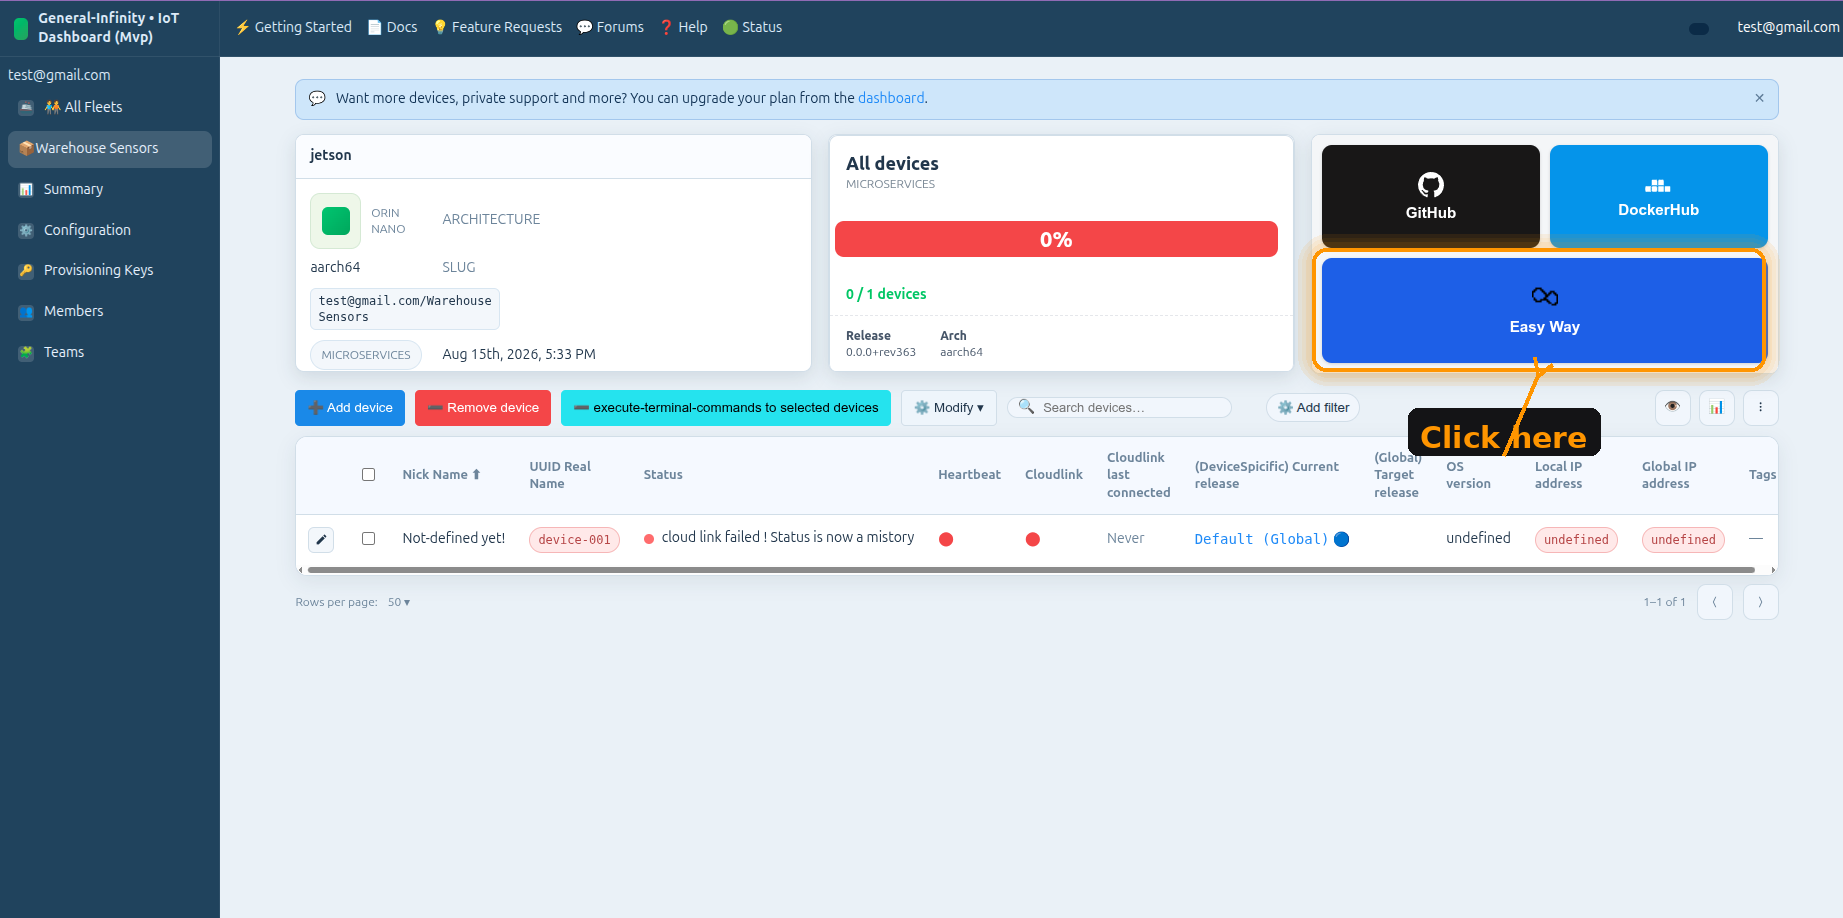
Deploy with Easy Way
Easy Way is the fastest path to a working deployment, and the one this guide follows.
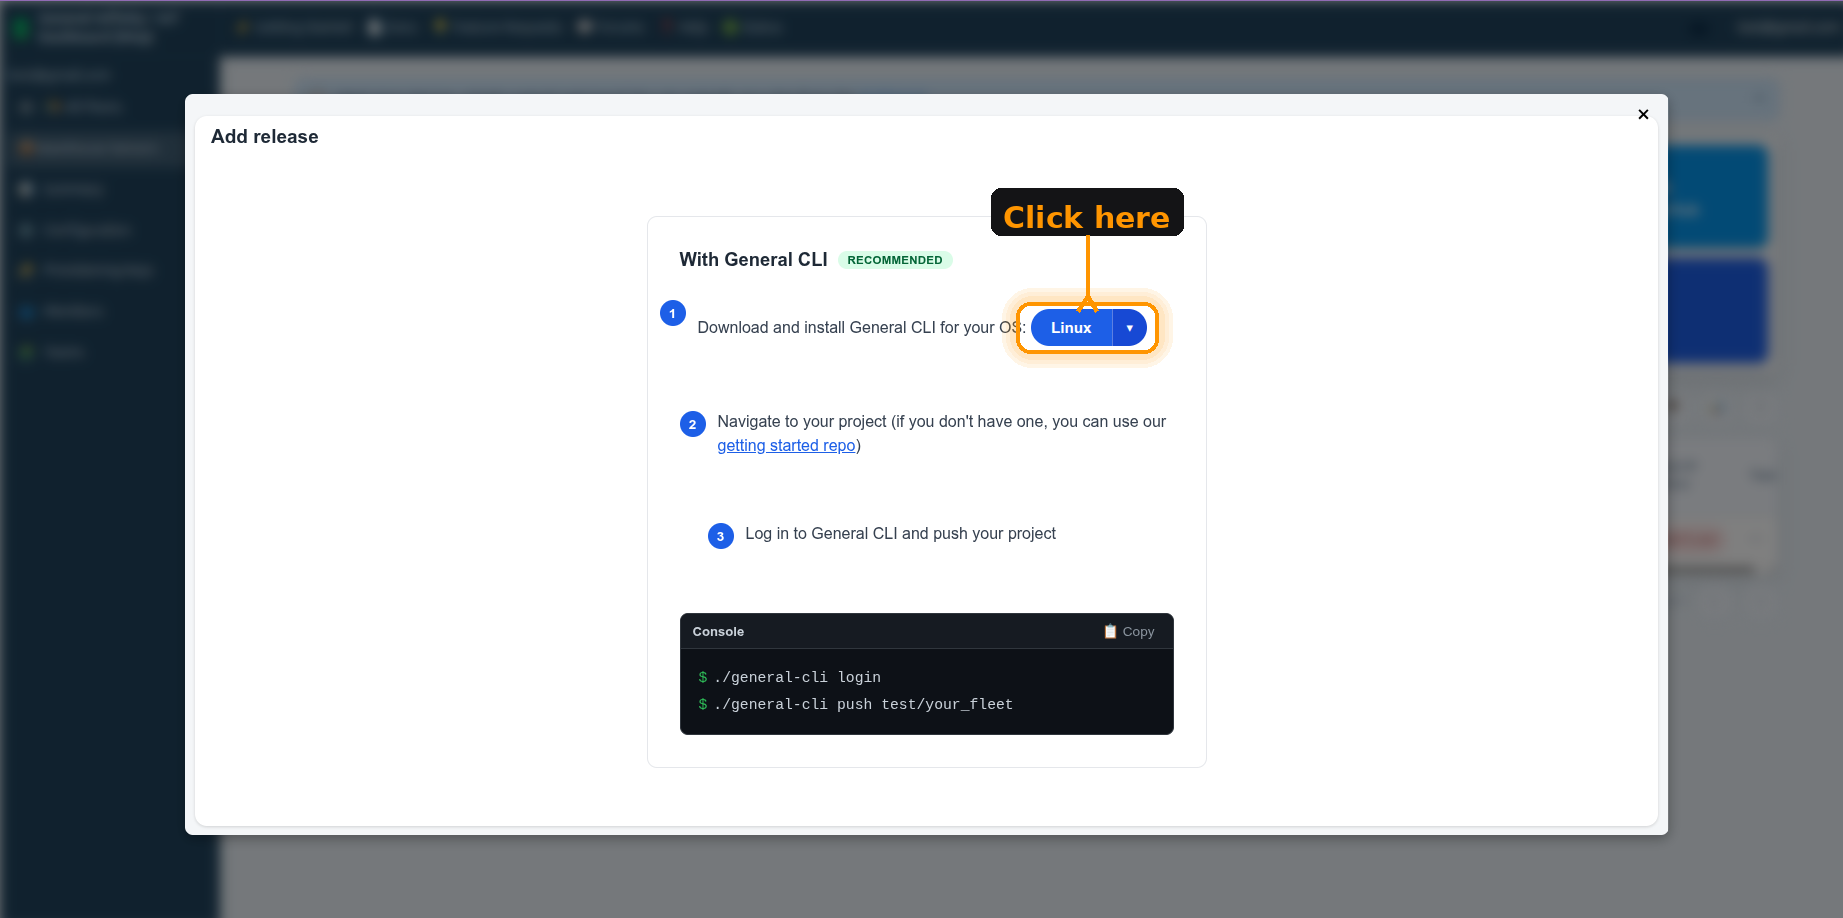
Choose Your Platform
Easy Way opens a short set of instructions for your operating system. Choose Linux to download the General CLI.
CLI Downloaded
Once the download finishes, the General CLI is ready to run from your project directory.
